
How to Edit Time Tracking in Jira?
Before tracking time for the first time, ensure that time tracking field in Jira is already enabled.
How to Check If Time Tracking in Jira Is Enabled?
To enable time tracking in Jira Cloud or check its status, start by accessing the settings. Click on the Settings icon in the top-right corner and select Issues. Under Issue Features, locate Time Tracking and activate it if it’s not already enabled. If it is, you can already add your work log to Jira!
How to Change Time Tracking in Jira?
To change the details of your time tracking field in Jira, simply click on a grind in the top right corner of your screen, and choose the Time Tracking page.
In this panel, you can configure options such as:
- Hours per day: This determines the time spent working your employees are expected to track every day.
- Days per week: This specifies the number of working days in a week.
- Time format or default unit of time: You can choose whether your employees report their worked time in days, minutes, or hours.

Regardless of chosen options, your employees will always be able to add work description to their tasks.
However, in order to apply these changes, you must first disable Jira time tracking. Once you reactivate the feature, your employees will be able to track time based on the defined limitations.
How to Remove Jira Time Tracking?
Removing Jira time tracking from your console takes just a few seconds. To do that:
- Navigate to the ‘Settings’ section.
- From there, access the ‘Issues’ menu.
- Within the ‘Issues’ menu, locate and select ‘Issue Features.’
- Look for the option labeled ‘Time Tracking’ and click on it.
- Finally, choose the ‘Deactivate’ option to disable time tracking.
How to Reset Jira Time Tracking Value?
According to many users, resetting a time tracking value might be a bit complicated depending on the case you are facing.
Start with:
- Opening your issue in Jira Cloud.
- Then, look for the ‘Activity’ section and select it.
- Within the ‘Activity’ section, locate and choose ‘Work log.’
- Here, you will have the option to edit or delete the tracked time associated with the issue.
However, many users report that this option is not working in their case. If that happens to you, too, you need to follow these steps:
- Grant yourself the “Delete Own Worklogs” permission.
- Return to the worklog activity of the issue and try to delete the work using the New issue view.
- In the New issue view, you will not find the “Delete” feature.
- Switch to the Old Issue view of a specific ticket to confirm if you can delete or edit the worklog using a pencil icon in the top right corner of the pop-up.
How to Disable Jira Time Tracking for a Project?
To disable time tracking, follow these steps:
- In the upper-right corner of the screen, click on “Administration” and then select “Issues.”
- Under “Issue Features,” choose “Time Tracking” to access the Time Tracking page.
- Click the “Deactivate” button to turn off time tracking.
It’s important to note that disabling and re-enabling time tracking will not result in the loss of any existing time tracking data.
How To Edit Tracking Permissions Section In Jira?
Time tracking permissions section is one of the most difficult to find in Jira. Still, assigning project roles to grant users the right access levels is essential in any professioal services company. Here’s how it’s done in Jira.
To edit time tracking permissions in Jira Cloud, go to the project settings and adjust the permission scheme. Start by clicking on the settings icon in the top-right corner and selecting “Issues.” In the left-hand menu, find and open “Permission Schemes.” Locate the scheme associated with your project and click “Permissions.”
Within the permissions list, look for the “Work on Issues” permission, which controls who can log time, and the “Edit Worklogs” permission, which determines who can modify previously logged time. Click “Edit” next to these permissions and select the project roles, groups, or individuals who should have access.
What Time Tracking Options I Can’t Edit in Jira?
However, even though you have the ability to customize certain aspects of Jira’s time tracking based on your preferences and requirements, there are crucial features that Jira lacks, which will undoubtedly be necessary for your work. For instance, in Jira, you are unable to:
- Adjust the number of working days specifically for part-time employees.
- Effectively manage overtime by delving into the specific details or identifing its source.
- Manage time-offs efficiently, as Jira does not offer features for handling public holidays or individual time-off requests.
- Conduct comprehensive analysis for project management purposes using reports, as their capabilities are limited.

Can I Expand My Jira Somehow?
Sure!
Luckily Jira can be integrated with other tools. BigTime is one of them – and it can fill in all the Jira’s gaps!
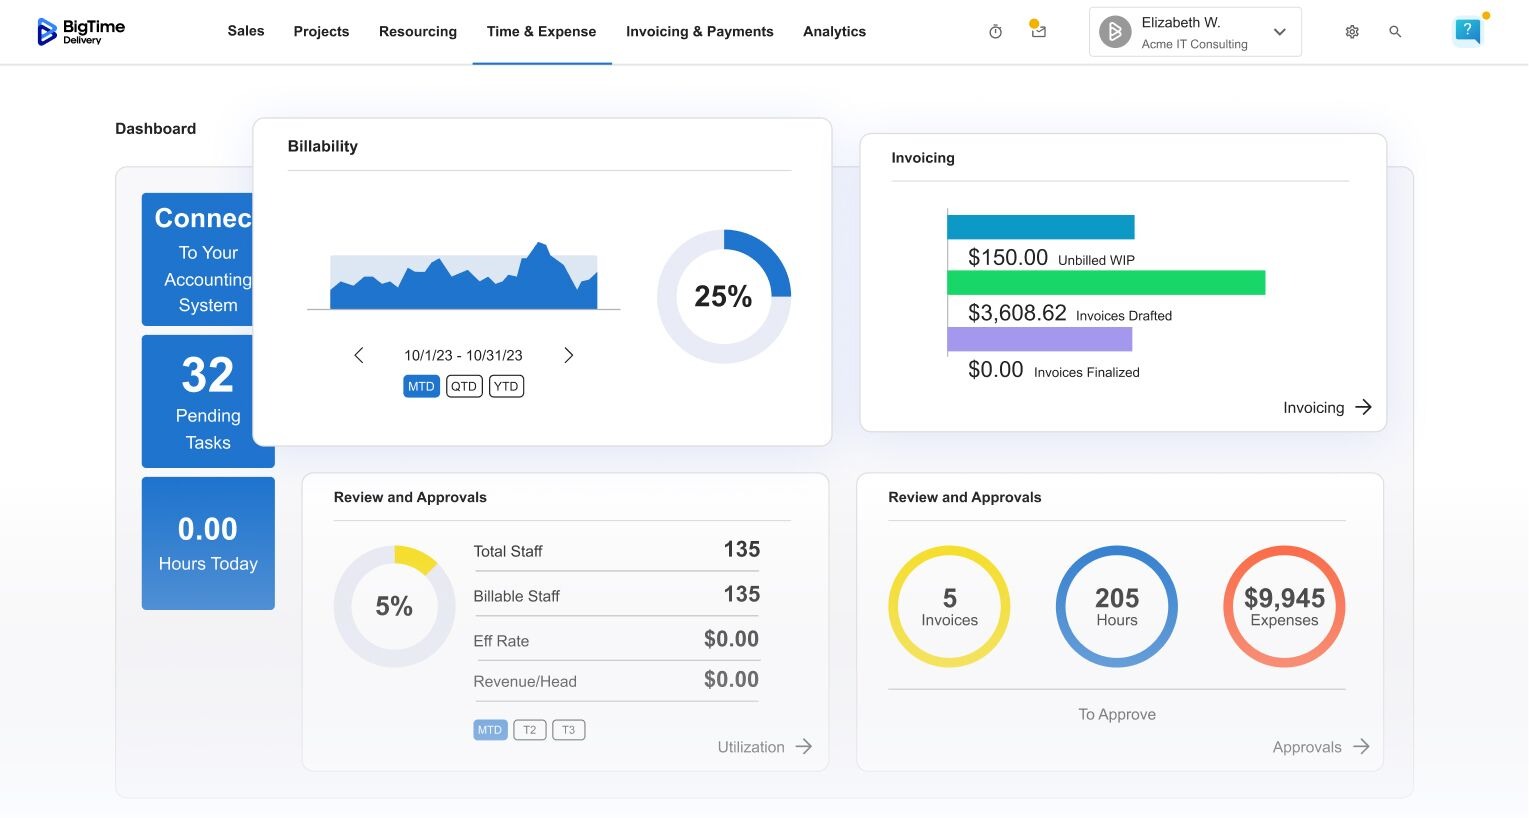
How Can BigTime Use Jira Data For Your Benefits?
Apart from its abilities to import time tracking information to and from Jira, BigTime can also use the data to generate comprehensive reports, measure capacity and help you with creating perfect resource management plans with no schedule conflicts. Then, you can use the information to reduce the employee bench, improve the number of billable hours and make your company much more profitable!
Sounds good? Book a demo with our advisor – we will show you how to achieve it all!