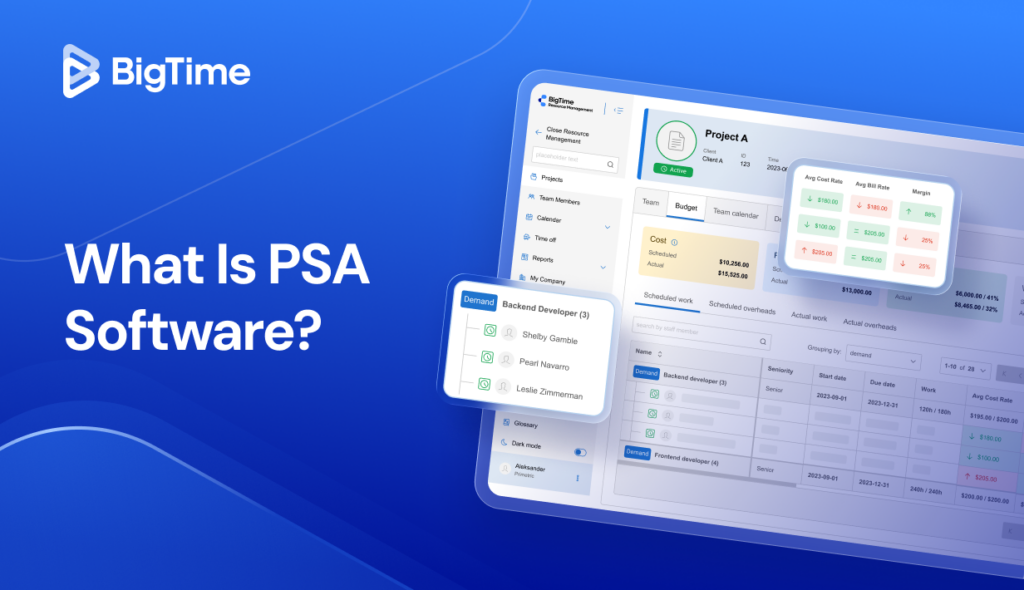

Expense reporting should be simple, but it rarely is. In practice, receipts stack up, project codes get forgotten, and what should take minutes ends up consuming over 10 hours every month.
BigTime’s new AI Expense Agent tool (integrated with AVA) is changing this. With the Expense Agent, submitting expenses is as simple as uploading a picture of a receipt. Expense capture is easy for individual contributors and everyone in Finance and Operations, who spend less time tracking down missing receipts or information.
Here’s how to get started using BigTime’s Expense Agent through AVA.
Where to Find Expense Agent
Expense Agent lives inside AVA, BigTime’s AI assistant.
Once you have access to the Expense Agent, all you need to do is start a chat with AVA from BigTime’s Web platform. No need to navigate to a separate tool.
All expenses route through your firm’s existing approval and reimbursement process, just as they always have.
The Fastest Way to Submit: Upload a Receipt
Uploading a photo of your receipt is the quickest path to a submitted expense.
Here’s how it’s done.
Step 1: Open AVA in BigTime Web. Just log into BigTime as usual and tap into the AVA chat interface.
Step 2: Upload a photo of your receipt (or multiple receipts—AVA can currently process up to five at a time). For the most accurate extraction, make sure the full receipt is visible, well-lit, and in focus.
Step 3: Review what AVA pulls from the receipt. Expense Agent reads the receipt and drafts an expense record.
It typically captures:
- Vendor name
- Date
- Amount
- Currency
AVA will use the captured data plus other context to intelligently map and draft the right values for all the fields your firm requires—like client, project, notes, and more.
Step 4: Confirm or edit the expense details. Be sure to review each field and make any corrections directly in the preview.
Step 5: Once everything looks right, hit submit. Your receipt image is automatically attached to the record.
Expensing Without a Receipt
You don’t need a receipt to automate your expenses. You can also tell AVA what you need.
This could mean typing something like, “Create an expense for $45 taxi to client site yesterday,” or, if you’re working on an expense that already exists, “Add a $120 hotel expense for Project ABC.”
AVA will generate a draft, ask for any missing required fields, and show you a preview before anything is submitted. Then you can review, edit, and confirm like normal.
Editing or Updating an Expense
AVA can also help with expenses that have already been drafted or submitted. You can query it manually, making requests like “Show my unsubmitted expenses” or “Show expenses for Project XYZ.”
Select the expense you need, update the relevant fields, and resubmit right from the chat window.
Clearing Expense Backlogs
Expense Agent handles multiple receipts in sequence (and up to five at a time). You can upload one, confirm the details, submit, then move quickly to the next.
When possible, we recommend submitting expenses immediately after a purchase. This ensures the details are fresh and lessens the risk of expenses falling through the cracks. It also makes managing expenses easier for Finance, who will otherwise need to deal with a backlog at the end of the month.
Check Expense Status Without Digging Through Menus
Instead of navigating multiple screens, you can ask AVA directly:
- “What expenses are still unsubmitted?”
- “Have my March expenses been approved?”
- “Show my expenses for Project XYZ.”
The information comes back in chat, so you can see what’s pending, approved, or in progress at a glance.
A Few Habits That Make a Difference
Expense Agent is designed to be straightforward and easy to use, but there are a few actions you can take to get the most out of it:
- Submit expenses right after the purchase to help keep details accurate.
- Double-check extracted fields before confirming, especially project codes.
- Don’t wait until month-end. Small, regular submissions are faster and more accurate than a large batch.
Speed Up Expensing and Spend More Time On Meaningful Work
Early access to Expense Agent is currently available to select BigTime Premier customers.
Soon, Essential and Advanced customers will have access to a 60-day trial period, with paid options available following the trial.
We’re excited to hear about your experience with Expense Agent, and hopeful that you’ll get a lot of value out of simplifying the submission, approval, and reimbursement process. If you’re interested in Expense Agent, join our waitlist here.
Reach out to our team any time to learn more about how Expense Agent can help you put more hours towards billable work.